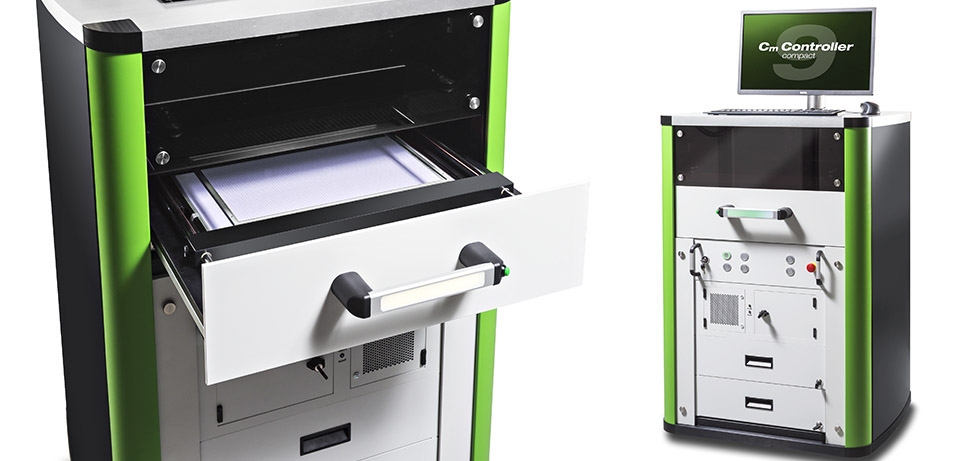
- Specialized in SMT requirements
- Measurements directly in the production, no expensive measuring room necessary
- Evaluation optimized for finding causes of errors
- Quick and detailed documentation of the results
- Competent and well acquainted consultation with the measuring tasks due to extensive experience from our measurement service
- Simple answer to the familiar question, "How do you make sure...?"
CmController 9 : The position measuring device optimized for the special requirements of SMT production

CmController 9
CeTaQ CmC9 is a position measurement system for the investigation of machine capabilities, tailored to the specifics of SMT systems. Its use enables the accuracy behaviour of the production process to be analysed and optimised and the causes of errors to be detected at an early stage. The results thus obtained facilitate the planning of new products, the introduction of new technologies and help in investment decisions. Furthermore, the proof of machine capabilities is an important part of audits.
With a legacy of 30 years of research and development, the CmC9 is the culmination of cutting-edge technology, rigorous engineering, and user-centric design, making it the most advanced measurement systems for machine/process capability in SMT available today.
We have consistently developed it for use in SMT production. New experiences, findings and requirements from our measurement service form a basis for continuous development. Our wealth of experience from measuring thousands of equipments helps you to efficiently fulfill your measuring tasks.
The manufacturing quality in surface assembly (Surface-Mount Technology; SMT) is decisively influenced by the positioning accuracy of the systems involved. Knowledge of this positioning accuracy enables us to detect any weak points at an early stage and to take appropriate measures. Ideally, this is done before product requirements are violated and the yield drops. This scenario is a classic application for statistical process control (SPC). However, a few special features of the SMT process have to be considered.
Surface mounting is a chain process in which the influences of different process steps overlap to produce an overall quality. The evaluation of the functionality of an electronic module at the end of the production chain is an attribute, i. e. the printed circuit board does work or does not work. On this basis, no information on the positioning accuracy of the systems involved in the process can be obtained (see also). Therefore, it is necessary to measure each individual equipment in a targeted manner.
The CmController makes it easy to use the advantages of statical process control (SPC) in surface mounting as well.
It provides a quick and comprehensive statement on the accuracy behavior of equipment involved in the production process.
This allows us to understand random and systematic influences and to take corrective action if necessary.
In this way, high manufacturing quality can be ensured efficiently and reliably.
The diagram shows the results of an analysis in the initial state. Measured system does not meet the required specifications.

The CmController Software CmCStat6.0 is optimized for surface mount applications and makes the causes of specification violations easily visible. The main focus is on the problem-related analysis of the measured values. This goes far beyond the usual calculation of capability values and the determination "passed" or "failed".

While many systems leave the user in the dark about the reasons for a failing result, CmCStat6.0 supports the determination of error causes to the best of one's abilities. The software has extensive possibilities for statistical evaluation, grouping of measured values and graphical representation and thus allows an efficient and purposeful analysis of error causes. Because only if you know the causes of a bad result, you can take specific measures to improve it.

The measurements are based on high-precision glass measuring plates. These pass through the machine to be measured in the same way as a real product. For example, 0402 resistors are mounted on the measuring plate. The necessary machining program is individually adapted to the requirements of the respective machine type by means of the CmController software CmCStat6.0. Detailed information about the procedure of a MCA be found here.
Powerful algorithms guarantee low measurement uncertainty and independence from ambient conditions. The measurements are carried out in the immediate vicinity of the system to be tested directly in production. This saves long distances and a special air-conditioned measuring room. Short measuring times allow a high sample size and thus guarantee a high statistical reliability of the results.
